
INSTRUCTIONAL GUIDE
The LiveReg app integrates your event day registration with your existing athleteReg event, letting you process credit cards on site and keep all your data in one place. At its simplest, LiveReg acts as a basic point-of-sale system; at its most complex, it can be a fully-featured paperless registration system.
MENU KEY
- See a listing of your events
- Turn event day mode on or off
- Set event day surcharge
- Email starting list to your timer (all, day-of, specific categories, or entire event)
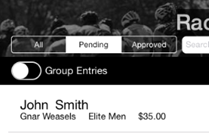
- View all entries (including pre-registration entries in your account, pending entries, and approved day-of entries)
- For each entry: accept payment, assign bibs, print release forms, edit, or delete
- Search for participants
- Manually add an entry for any category or merchandise item; process payment
- Make a quick point of sale transaction via credit card, cash, or check
- BikeReg only – choose pre-filled release form template for printing
USAGE MODES
Depending on your event setup and waivers required, choose one of these three modes of use:
Simple: Point of Sale (Payment Only, No Registration Data)
Run your registration with paper forms as normal, but process credit cards and have the funds deposited into your athleteReg event director account.
Workflow
Sign into LiveReg, select your event, and use the "Point of Sale" option to process credit cards as needed.
Moderate: Data Entry (Payment Processing & Paper Registration Data)
Run your registration with paper forms as normal, process credit cards to add funds, and manually add participant registration data to your athleteReg account. This gives you an electronic record of all your day-of participants in your event director account, which you can use for post-event emails, sending start lists, or any other data tracking you may need.
Workflow
Set up your registration area as normal with paper forms and pens for day-of participants. When a participant brings their form to the registration table, enter that participant’s information into the LiveReg App as a manual entry (for USAC-sanctioned events in BikeReg, use the USAC License # lookup to quickly fill out all the fields). Take payment for the entry and assign the participant a bib number.
To email a final start list to your timer, go to your "Events" menu item and choose "Email Start List".
Complex: Kiosk or Mobile Device Signup (Payment Processing & Paperless Registration)
Participants register for the event electronically, using kiosks you’ve placed in the registration area or their mobile device. After registering, they come to the registration table to pay and receive a bib number.
Workflow
Post the event day registration url in the registration area and/or provide your own kiosks – a computer or tablet device with a browser pointed to the event day registration url. Participants sign up on their phone or a kiosk and then go to the registration table.
If you need a "wet signature," you can print a prefilled release form using their registration information directly from LiveReg; all they have to do is sign. If your event has an electronic waiver, they agree to it during the registration process.
At the registration table, assign their entry a bib number and collect payment.
To email a final start list to your timer, go to your "Events" menu item and choose "Email Start List".
GETTING STARTED
To get started with LiveReg, sign in to your event director account on the appropriate athleteReg site:
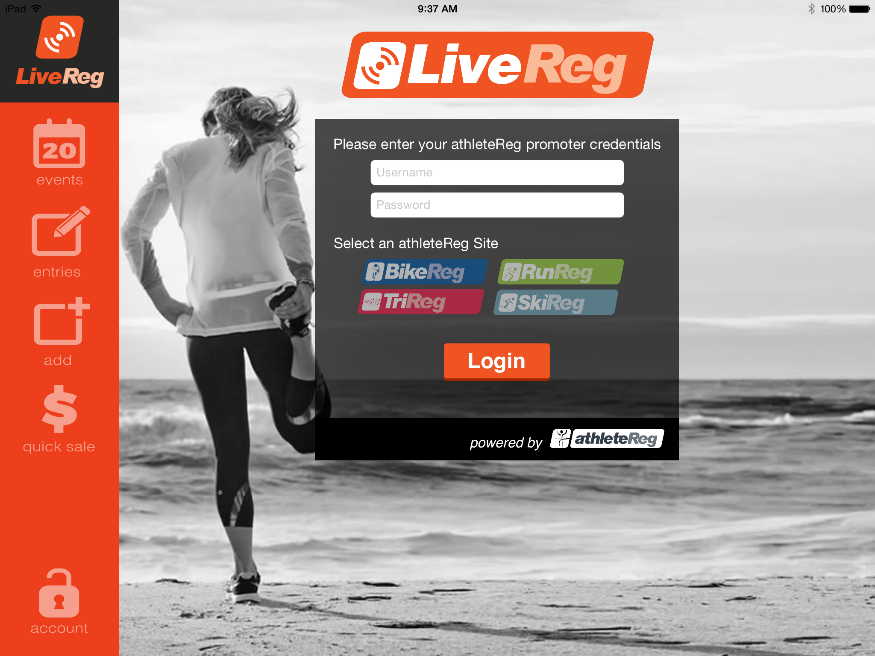
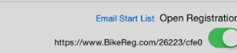
Next, select the event you will be doing day-of registration for and move the "Open Registration" slider to the right. This turns on "event day" mode for that event, which will allow participants with the right url to register on their phone. It will also allow you to process credit cards and add entries for that event.
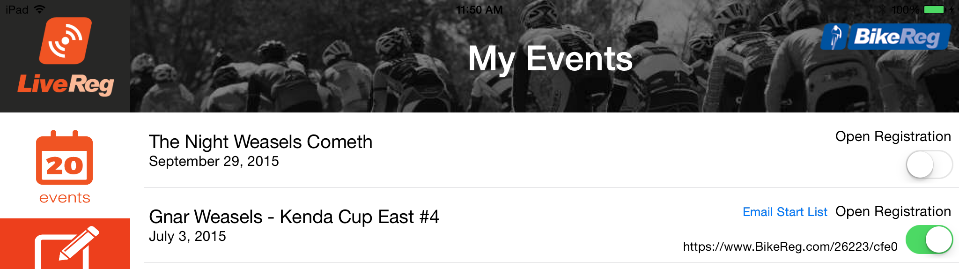
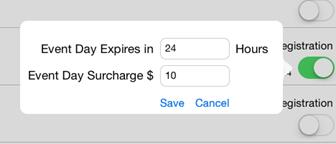
Enter the event day surcharge (how much more it costs to enter the event on-site than it did for pre-registration) and how long you want to keep event day registration open for. You will be able to override any surcharges later if necessary.
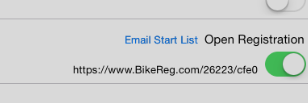
Once registration is open, you’ll see a URL for event-day registration for your event. If you want to allow participants to enter via their phones, you can distribute this URL to them at the venue. The URL will be the same for your event every time you open registration, so you can turn it on a few days prior to check the URL if you’d like.
PROCESSING TRANSACTIONS
To get started with LiveReg, sign in to your event director account on the appropriate athleteReg site:
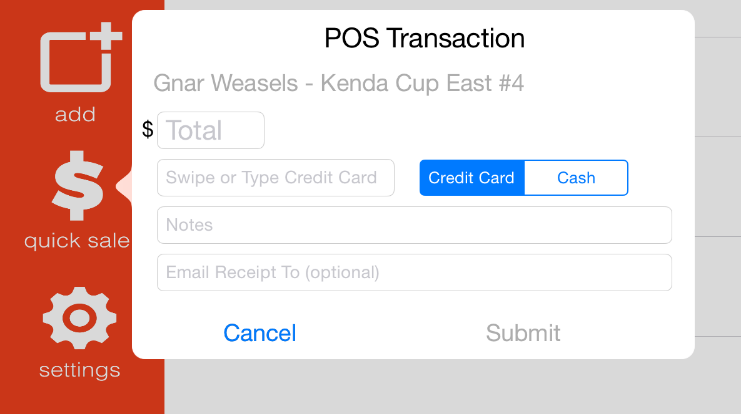
Quick Sale
applies to: all modes
If all you want to do is collect money from credit cards, you can use the quick sale button on the left to open up a form for swiping credit cards, and optionally entering notes (i.e. "payment for extra race shirt") and/or emailing a receipt for the transaction. This does not add the entry to your start list. Funds are added to your athleteReg event director balance and data on the transaction is added as a merchandise item should you need to reference it later. You can also select the payment type to be cash/check if you simply need to account for a transaction without running a credit card.
 Manual Entries
applies to: Data Entry and Device/Kiosk modes
Manual Entries
applies to: Data Entry and Device/Kiosk modes
You can also enter racers into the LiveReg system from the app by touching the "Add" button.
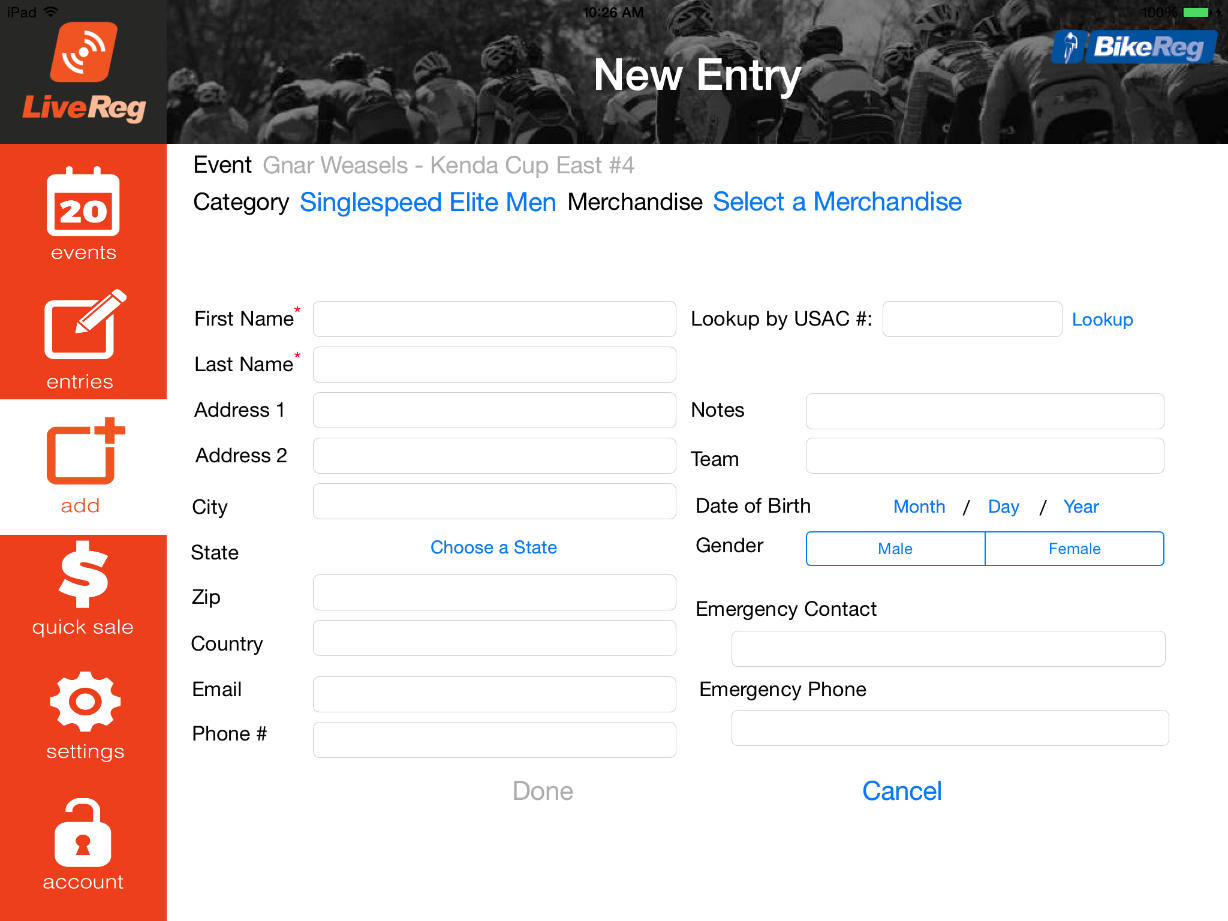
This prompts you to select a category and/or merchandise item for that participant. You may then supply as much or as little participant data as you want.
To save time, you can also look up participant data by USAC # (for BikeReg events). This searches past BikeReg registrations with that USAC # and pulls in the most recent registration for that person.

Once you touch "Done" on this screen, the entry is added to the pending queue just like a kiosk entry and you can now take payment for it, assign a bib number, or print a release form from the "Entries" screen.
Entries will be pending until a form of payment is confirmed (Credit Card/Cash/Check/Free).
Event Day Registrations
applies to: Kiosk mode
Participants can use their mobile devices or a kiosk to register for the event at the event-day url, but payment is not collected until the participant comes to the registration table. A list of entries that have been entered online but not yet paid for is shown on the "Entries" screen:
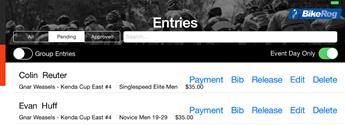
When a participant comes to the registration table, find their name in the list by scrolling or using the search bar and touching "Payment."
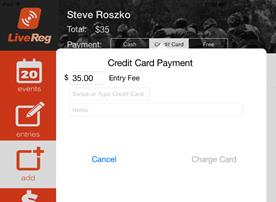
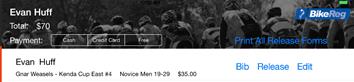
This brings you to their entry, where you can edit it, assign a bib number, print a release form, and take payment. Select the payment method the participant is using and swipe the card or accept the cash/check.
The payment amount will default to the entry fee for the category plus the event day surcharge, but you are free to edit it for whatever reason.
Once you confirm payment, the entry becomes "approved" and the participant is now entered into the event. You will probably want to give them a bib number at this point, and record that number by touching the "Bib" button.

If you are using one of our pre-filled release forms (BikeReg only), you can also print that for the participant to sign. You’ll need to be on a wireless network with a compatible AirPrint printer.
More on printer setup can be found at the end of this document.
Processing Multiple Entries at a Time
applies to: Kiosk mode
A common scenario is one person paying for multiple registrations at once. Instead of taking separate payments for each pending entry, you can group the entries together and pay for them all at once.
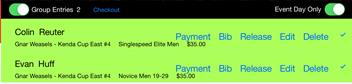
When this selector is turned on, you can add entries to the group by touching their row, and when you process a payment it will approve all the entries at once.
Viewing all event entries
applies to: Date Entry and Kiosk mode
If you need to edit or view preregistered entries (e.g. moving a preregistered racer to a different category), turn off the "Event Day Only" slider on the pending entries queue. You can then search and edit all registrations for the event, not just the event day ones.
 Emailing a start list
applies to: Date Entry and Device/Kiosk mode
Emailing a start list
applies to: Date Entry and Device/Kiosk mode
When registration for a category closes, you may want to send a final start list for the race to a timing service or the announcer. Touch the "Email Start List" button on the Events list to enter an email address to send the start list to. You can send specific category start data or all start data.
 Release Forms and Printers
applies to: Device/Kiosk mode
Release Forms and Printers
applies to: Device/Kiosk mode
If your event uses an online waiver, you can run a paperless event-day registration system by having all participants register for the event on their phone or at a kiosk you’ve set up. As part of the registration process, they’ll agree to the online waiver just like any pre-registrant did.
However, if you need a wet signature on a paper waiver for each participant and you are using one of our standard waivers (BikeReg), you can print prefilled waivers directly from the app. LiveReg supports Apple’s AirPrint system, so all you need is an AirPrint-enabled printer on the same wireless network as your LiveReg app for this to work.
Information on setting up AirPrint can be found here:
https://support.apple.com/en-us/HT201387
By clicking on the settings icon on the left you can choose which release form you want to use. This will be remembered so that all entries are printed with the same form.
When you’re taking payment for an entry or a group of entries, you can print the release form(s) via the "Release" or "Print All Release Forms" button. This prompts you to select which printer to send it to.
TROUBLESHOOTING & SUPPORT
We do not offer full support on weekends, so please be sure to test out all functionality you plan to use before event day. Contact us ahead of time with questions Monday – Friday between 8:30 am and 8:30 pm ET: (888) 956-9560 or
[email protected].
For other issues, please see the list below and refer to the rest of the guide.
Connectivity
You need a stable wifi connection to use LiveReg. Check that you will have adequate service at your event location beforehand.
More Features
Not finding the features you need? Open a web browser and sign in to your event director area to access your full suite of tools. Please do contact us with feedback –
[email protected].
Swiper
If swiper is not working, check connection of swiper to iPad. Credit card numbers can also be entered manually as needed.
Modifying Start Lists
Not able to send the download / start list format that your timing service or staff needs? Open a web browser and sign in to your event director area. Here you can create a new download template in the "Download Registration Data" area and save it. Go back to LiveReg and your download template will now be an option for emailing or printing your start list.
Printing
Need to print a start list? Email it to yourself, then open it in your preferred database program (i.e. Excel), format, and print. Or, open a web browser, access the "Download Registration Data" page in your event, download data, format, and print.
If you are printing pre-filled release forms (BikeReg only), see the above section on AirPrint.